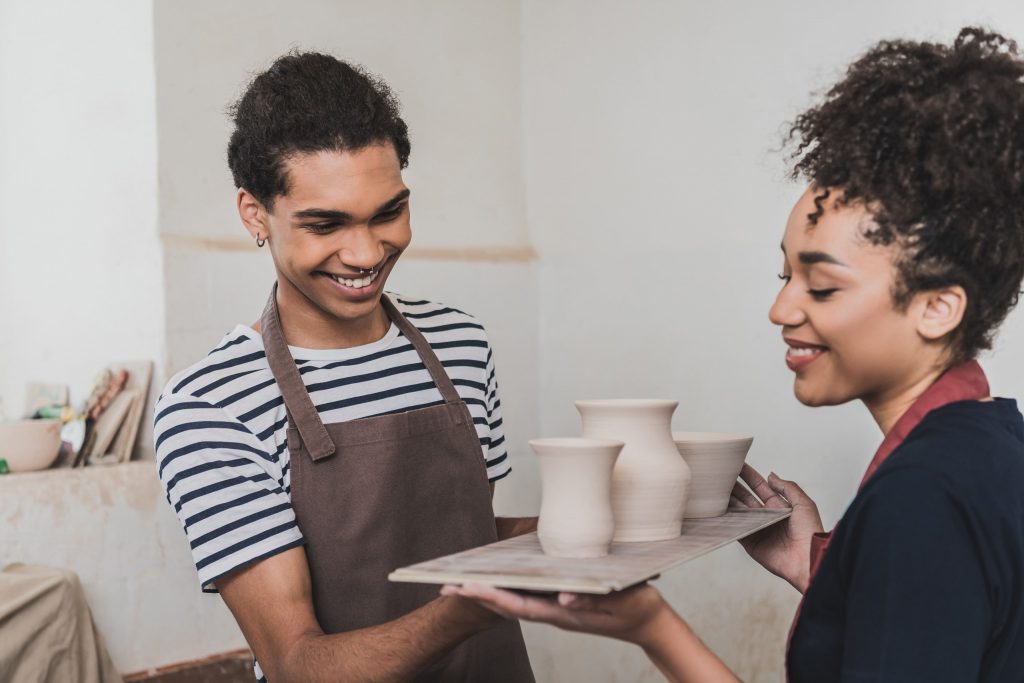
At first glance, turning a lump of clay into a beautiful, functional mug may seem like magic. But behind that transformation lies a fascinating, methodical process — one that blends science, art, patience, and heat.
Whether you’re just starting your journey or want a clearer picture of what happens between the first touch of clay and the final glazed piece, this guide walks you through each step of the ceramic process.
Let’s take a mug as our example — a classic, beloved object that almost every potter creates at some point.
1. Preparing the Clay
Before you can create anything, you need to prepare your material. Clay straight out of the bag can sometimes be too hard, too soft, or unevenly moist. Wedging — a kneading process — helps to even out the moisture, remove air bubbles, and align the clay particles.
There are different types of clay (stoneware, porcelain, earthenware), and each has its own characteristics. At Modern Ceramics, we usually recommend starting with a smooth, mid-fire stoneware — easy to shape, versatile, and durable.
2. Forming the Shape
This is where creativity meets skill. You can form your mug in several ways:
- Throwing on the wheel: This method involves centering the clay and using your hands and tools to shape it into a cylinder, then forming the walls, base, and lip.
- Hand-building: Using coils or slabs, you can sculpt a mug by hand — great for beginners or those without access to a wheel.
- Mold-forming or press molds: Used in more advanced or production settings, these allow for repeated, uniform shapes.
At this stage, details like surface texture, carving, and stamping can be added.
3. Attaching the Handle
Once the body of the mug is “leather hard” (firm but still damp), you can add the handle. This is done by scoring and slipping (roughing the surfaces and applying wet clay slurry), pressing the handle into place, and smoothing the joints.
A well-placed handle is critical for comfort and functionality. It’s an art in itself — balancing form and ergonomics.
4. Drying
Drying is one of the most overlooked yet critical stages. Clay must dry slowly and evenly to avoid cracks. Depending on humidity, it can take a few days to a week. Never rush this step — placing your work near heat or in direct sunlight can lead to warping or breakage.
The goal is to let the clay become bone dry — completely free of moisture — before firing.
5. Bisque Firing (First Firing)
Once dry, the piece goes into the kiln for its first firing — called bisque firing. This transforms the fragile clay into ceramic: hard, porous, and ready to be glazed. Temperatures usually reach around 900–1000°C (1650–1830°F).
Bisqueware is much easier to handle, clean, and glaze than raw clay.
6. Glazing
This is where you add color, texture, and surface protection. Glazes are made from minerals, oxides, and silica, and when fired, they melt into a smooth, often glassy surface.
You can dip, pour, brush, or spray glazes, and apply them in layers for different effects. Some glazes react to each other, producing unpredictable results — part of the joy (and anxiety) of ceramics.
It’s important to clean your bisqueware and avoid over-glazing the bottom, where the piece touches the kiln shelf.
7. Glaze Firing (Second Firing)
Once glazed, the mug is fired again at a higher temperature — usually around 1200–1300°C (2190–2370°F), depending on the clay and glaze type. This is called glaze firing or high firing.
Inside the kiln, chemistry and heat do their work. The glaze vitrifies (melts and fuses), and the clay body becomes non-porous and fully durable.
After firing, you wait — usually a day or two — for the kiln to cool before opening it. This moment is thrilling and nerve-wracking for potters of all levels.
8. The Reveal
When the kiln is opened, your mug is transformed: from muddy, fragile earth to solid, beautiful ceramic. It now carries your fingerprints, your ideas, and the marks of fire.
Some pieces turn out exactly as planned. Others are happy accidents. Some crack or disappoint — but even failures teach you something valuable.
This is the rhythm of ceramics. It’s slow, thoughtful, and deeply satisfying.
Final Thoughts
Ceramics isn’t just about the end product. It’s about the journey — learning to work with nature, heat, and time. Each step of the process is an opportunity to engage with the material and yourself.
At Modern Ceramics, we guide you through each phase with clear instruction, video demonstrations, and feedback from real artists. Whether you’re building your first mug or refining your technique, you’ll gain a new appreciation for the craft.

