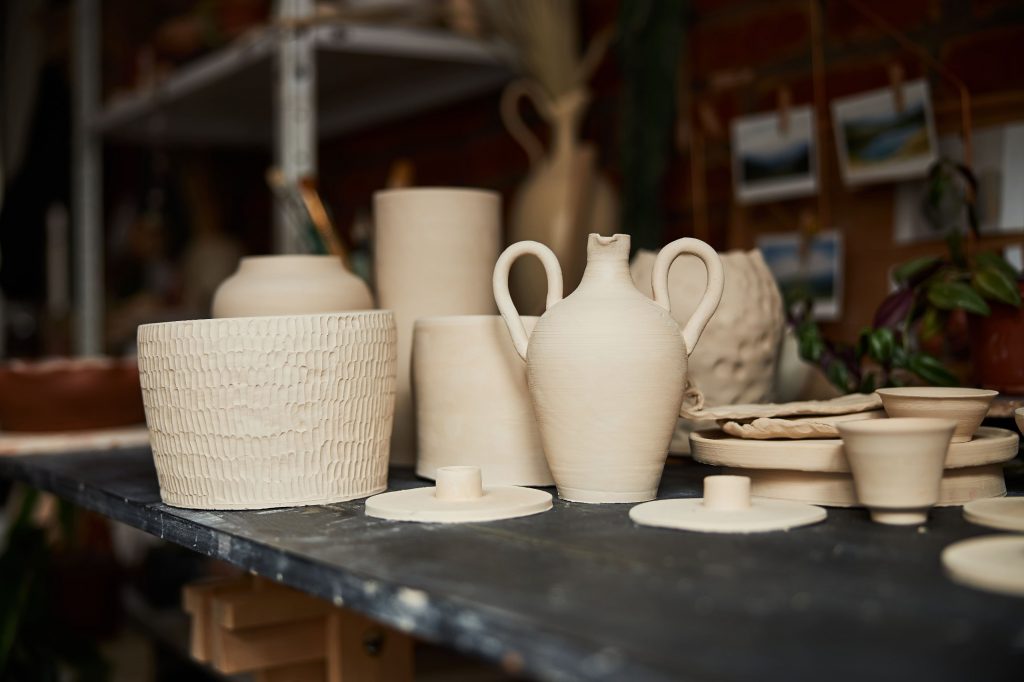
Starting ceramics doesn’t mean you need a fully equipped studio or a massive investment. In fact, one of the most beautiful aspects of pottery is how accessible it can be — especially when you’re creative with your space and tools.
Whether you’re a hobbyist or a beginner looking to practice at home, this guide will walk you through setting up a functional, inspiring home studio without breaking the bank.
Step 1: Choose the Right Space
You don’t need an art barn or a separate workshop to do pottery. Many beginners start in:
- A corner of the garage
- A section of the kitchen or laundry room
- A small balcony or outdoor shed
- Even a sturdy table in the living room (with protection)
What matters most is:
- Good ventilation
- Access to water
- A surface that can get messy
- Easy-to-clean floors (tile or concrete is ideal)
Tip: Lay down a plastic sheet or tarp to protect surfaces and make cleanup easy.
Step 2: Start with Hand-Building
A full pottery wheel and kiln setup is expensive. Instead, start with hand-building techniques — slab, pinch, and coil. They’re the foundation of ceramic art and don’t require much space or gear.
You’ll need:
- Clay (stoneware or air-dry to start)
- A smooth, clean surface (tabletop covered with canvas or vinyl)
- Basic tools: sponge, needle tool, ribs, wire cutter, etc.
- A small container of water
- A towel or apron
Hand-building allows for huge creative freedom and helps you understand clay before investing in bigger equipment.
Step 3: Buy Tools Wisely
Don’t rush to buy every tool in sight. Many can be made or improvised at home.
- Use old credit cards as ribs
- Toothpicks, forks, or knives as modeling tools
- Rolling pin as a slab roller
- Store tools in a simple box or drawer
Start with a beginner’s tool kit — many include 8–12 essential tools and cost less than $20.
Step 4: Clay & Storage
Clay is affordable and often sold by the kilogram or bag. For small-scale work, 5–10 kg can last weeks.
To store clay:
- Keep it in plastic wrap or airtight containers
- Spray water if it begins to dry
- Label reclaimed clay or scraps for reuse
Always reclaim your clay: collect trimmings and dried pieces, soak them, and re-wedge.
Step 5: Drying and Finishing
Find a dust-free place to dry your pieces slowly. A shelf, a cupboard, or even under a box works. Slow drying prevents cracking — cover pieces loosely with plastic at first.
You can burnish pieces with a spoon or plastic for a polished surface if you don’t plan to glaze.
Step 6: Firing Without a Kiln?
No kiln? No problem — here are some alternatives:
- Air-dry clay: Doesn’t require firing, great for decorative pieces (but not food-safe)
- Raku firing: Can be done outdoors with a homemade kiln or barrel
- Community kilns: Many cities have studios or schools offering pay-per-piece firing
- Shared firing services: Some artists or small businesses fire work for others
Eventually, you might invest in a tabletop kiln — compact models are ideal for small work and cost less than large professional kilns.
Step 7: Inspiration & Organization
A studio, even a small one, should inspire you.
- Add shelves for storage and display
- Keep tools and materials organized with containers, jars, or baskets
- Pin up drawings or references for ideas
- Use a notebook to sketch ideas, track glaze tests, and document your progress
Even if your studio is just one table, make it your own creative sanctuary.
Final Thoughts
You don’t need a fortune to make beautiful ceramics. What you do need is passion, patience, and a willingness to experiment.
At Modern Ceramics, we celebrate the DIY spirit and offer tutorials, tips, and inspiration for artists working in every kind of space. Our students have created stunning work from balconies, basements, and even kitchen counters.
So don’t wait until you have a “perfect” studio — start where you are, with what you have. The clay is waiting.

